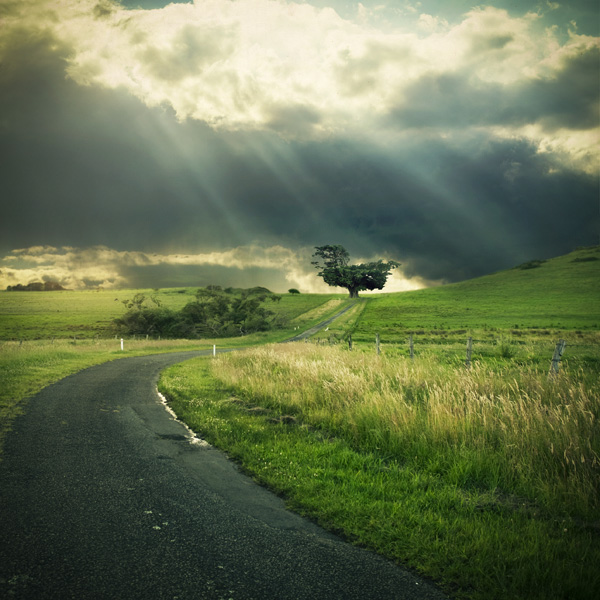
Today I thought I'd create a tutorial showing the process of how I created the image above. The original image I was working with was quite bland, the sky was over exposed and overall just wasn't a very interesting photo. I thought I would create something a little more eye catching from it.
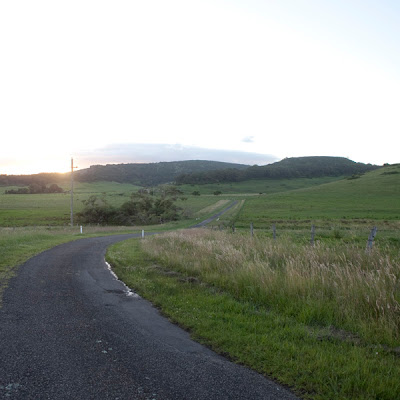
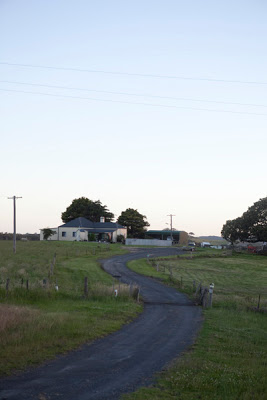
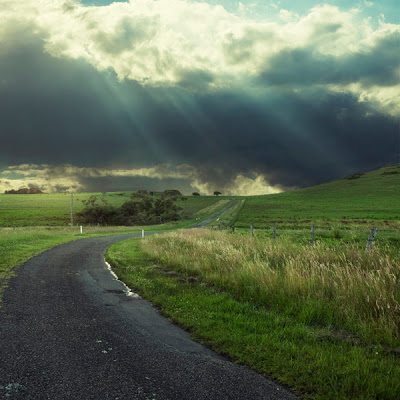
This is the original picture. As you can see the image straight out of the camera is quite bland - the sky is overexposed and nothing catches your eye when you look at it. The first step is to crop the image to a square.
I then create a layer mask and using the brush tool, completely remove the sky and some of the mountains from the original photo. We are left with a blank canvas at the top of the image to work with.

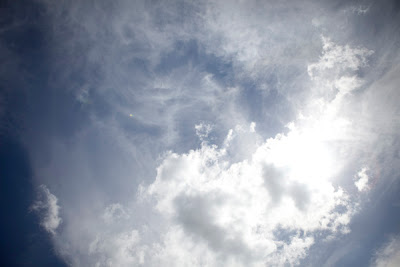
I start by adding a sky image to the white background to start the process of layering to add some depth to the sky. As you can see it looks quite unrealistic when you just add one layer of sky to the background.
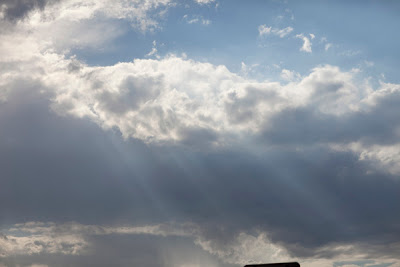
I continue adding cloud images, layering them until I am happy with how it looks. With each layer, I add a layer mask and using a large, soft brush, remove sections of the sky until they blend in more naturally with each other. I also use varying layer blending modes and opacities to blend the sky textures further.
The next step is to colour the image. I start by using some of Digital Film Action's free Photoshop Curves to set the tone for the image. I chose to make it quite dark, contrasty, with lots of greens and blues. Once I'm happy with what it looks like, I create another rgb curve to further tweak the colours to my taste.
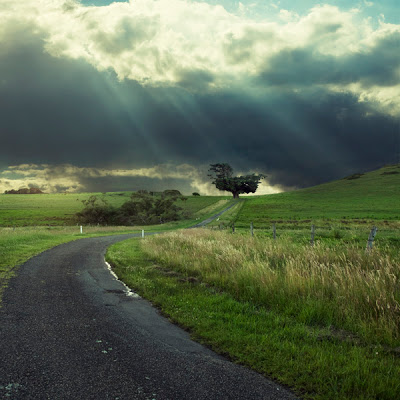
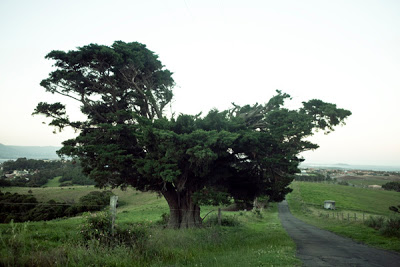
The image still needs a main focus, so I took an image of a tree I had taken on the same day as this landscape image and added it to the end of the road. This gives the image a nice flow, giving your eyes something to fall on when looking at this image. I changed the blending mode of the tree layer to Lighten and used a large, soft brush to remove any excess background from around the tree to help it blend in naturally. I also took a moment to remove the electricity pole that I felt was distracting.
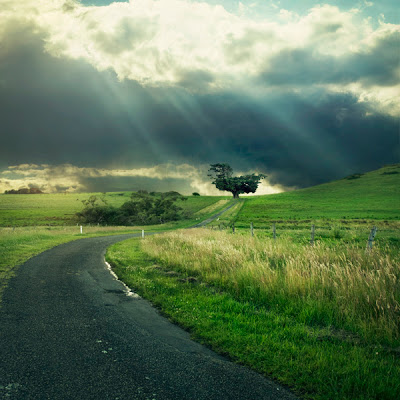
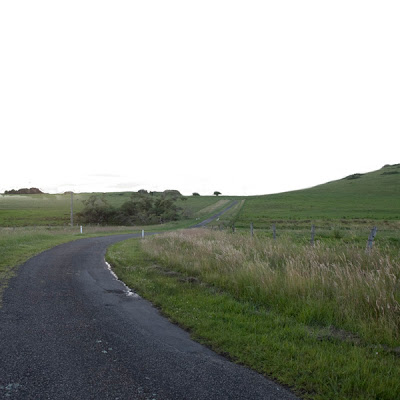
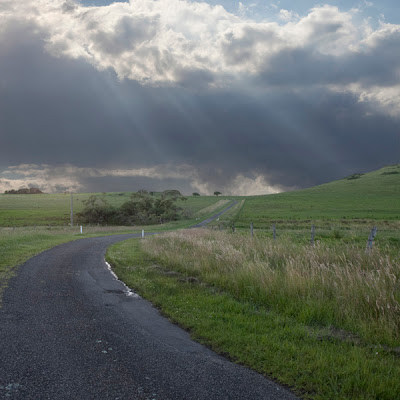
Now that all the elements of the photo are in place, I use a few more rgb curves to alter and tweak the colours and tones of the image until I am happy with what it looks like and we're finished! Below are some of the original images I used to create this final photo.